|
|
|
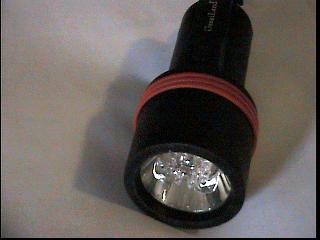
This flaslight can be found at most Target stores.
First, unscrew the head assembly, remove the bulb and socket assembly. Carefully remove the reflector assembly; it is glued in place and the effort required is dependent on how well it was glued. Close inspection inside the head assembly will reveal two small rectangle cutouts in the circumference of the reflector flange were it meets the head assembly lens. Using a small screwdriver, or similar tool, it is possible to pry against these cutouts to break the reflector assembly free. It may also be advantageous to freeze the assembly, and thereby making the glue a little more brittle and subject to cracking.
Once the reflector assembly has been removed, you are ready to continue with the modifications.

| 
|
Using a hole saw, cut a 1 1/8" circular two sided circuit board. Using the artwork supplied above, etch the circuit card (you may have to adjust your printer to get the correct size). An alternate method is to just lightly coat the circuit card with paint, and then scribe the etch line with a compass on both sides (drill small hole for compass pin, it will keep both sides centered). Drill the LED lead holes, and two additional holes, in the circuit card using the above artwork as a pattern.
Drill a 3/16" hole in the center of the circuit card.
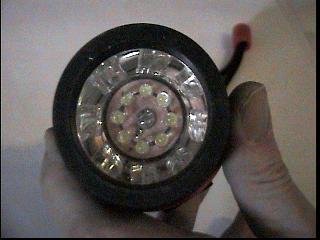
Insert the eight LEDs into the circuit card, positive leads to the center, and solder in place. The LEDs should be pushed all the way down until the bottom rests on the circuit card (not normally recommended method of mounting to push past the solder stand offs on the LED legs, but since we're not wave soldering, it will not matter if the heat is controlled during soldering). Using a small amount of epoxy under the LEDs will allow them to be soldered without leaning one way, or another, during the soldering process.
Insert a small piece of wire into the extra hole drilled into the inner circle (positive) of the circuit card, and solder front and back (insures good electrical contact). Trim flush to the circuit card on both sides.
Next, break the bulb that came with the light and remove all glass and potting materiel. Locate a plastic screw insert, or similar plastic tube that will fit inside the bulb base, that a #8 screw with thread securely into. Trim to length so that it fits inside the bulb base and is flush with the top flange. Epoxy this into the bulb base.
Solder one end of a 4.7ohm resistor to the outside of the bulb base. Cover the resistor and leads with heatshrink tubing, or other insulator, leaving 1/8" of the other resistor lead exposed. Insert that lead into the hole drilled into the outer (negative) ring of the circuit card, and solder in place on both sides of the circuit card.
Carefully fold/bend the resistor behind the circuit card, so that the circuit card fits flush down into the reflector assembly. Using a 1" #8-32 machine screw inserted through the hole in the center of the circuit card and into the screw insert inside the bulb base. Tighten the screw down slowly until the circuit card is fully seated in the base of the reflector.
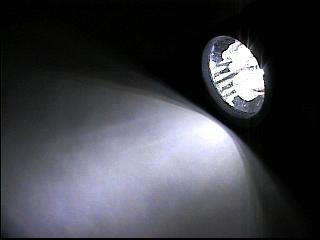
Attach the bulb socket, put batteries in the flashlight, and re-assemble the flashlight. You now have a very nice, and long running, LED flashlight that produces a bright, smooth beam.