|
|
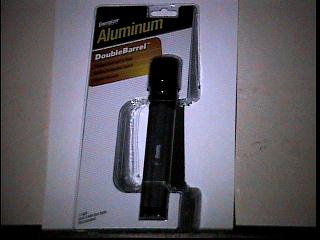
How to get 4.5 to 6 Volts out of an Energizer AAA Double Barrel flashlight:
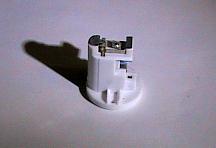
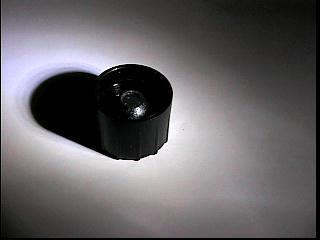
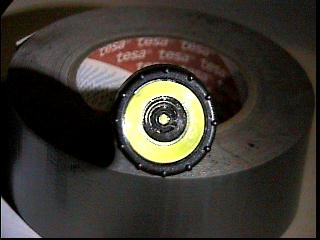
Disassemble the flash light, and remove the two screws retaining the white plastic switch assembly. Remove the white plastic switch assembly; this is best done with the switch turned on. Note how the switch contacts mate with the battery contacts and the silver screw in the black plastic between the battery contacts. As built, both battery contacts are positive, and the silver screw (which threads into the metal case) is the negative contact.
We need to alter the switch assembly to work with a new battery configuration. What we need to do is isolate the silver screw from the circuit and alter one of those battery contacts to become negative when two batteries are inserted backwards into the barrel closest the switch. We will cut off the little piece of metal that runs from the one battery contact to the other by the switch, and bend over the silver screw's contact in the middle of the switch assembly to take its place.
|
|
This next step is for the 6 Volt conversion only, for this Luxeon mod, we only need 4.5V, and we will make a dummy battery with two positive tips with a resistor in it to take the 4th cell's place.
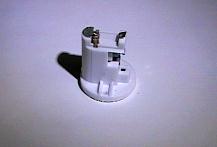
Remove the battery spring contact closest the switch. Notice how the contact is shaped to prevent contact with the negative end of a battery if it is inserted incorrectly. We need to build up a solder blob on the end of the spring that protrudes higher than the plastic guard so it can make contact with the flat negative end of the battery..
Note how the end cap contacts are shaped to prevent them making contact with the positive terminal of a battery inserted backwards. We will need to alter this also. Fill in the hole with a blob of solder.
We need about 2.5 Ohms to keep the current at or below 250 milliamps, so things don't get too hot with what little heat sinking there will be. The batteries will effectively limit the current through internal resistance of the AAA cells in addition to the 2.5 Ohm resistor. Use 4 10 Ohm resistors in parallel to make the 2.5 Ohms. I found a plastic tube about the same diameter as a AAA cell and shoved the resistors into that and filled it with 5 min epoxy to keep everything rigid. Just keep the length right and build up a nice solder blob on each end after trimming the leads to about 1/8th inch. Try to make the solder blobs about the same size as the positive contact, file to length if required.
Carefully reassemble the switch assembly into the flashlight and reinstall the two screws that hold it in place. You should now be ready to test the mod. Install two batteries into the barrel farthest from the switch, positive contact first, tighten end cap. Install the resistor first, then another battery into the barrel closest the switch, negative contact first, tighten end cap. Stick a couple of wires into the holes where the legs of the light bulb are supposed to go, and connect to a volt meter. You should see 4.5 - 4.75 Volts, and be able to switch it on and off using the flashlight switch.
For 6 volt operation, replace the dummy cell with a battery (requires above mod to battery spring contact for 6V operation).
Modifying the reflector to fit the Luxeon:

|
|
Making the heat sink:
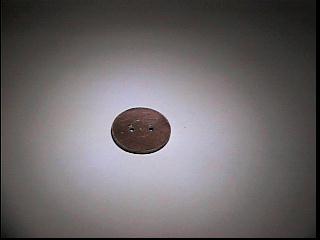
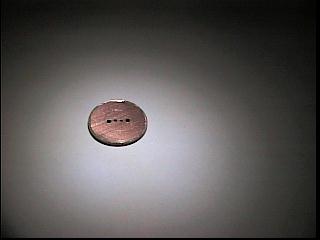
Get a 7/16" washer and enlarge the center hole to 1/2" (becareful attempting this with a power drill - use a very good vice and very low speed). I know this isn't fun, but if you can find any brass/steel/copper washers with 1" outside diameter and 1/2" inside, I'd like to hear about it...
Pick the smoothest side on the washer and file it as flat as you can get it. Polish it if you want. (I just filed).
Now on with the Luxeon modifications:
Cut a 1 inch round two sided circuit card; it's best to use 1/32" thick, 2 ounce, two sided circuit board, as this will also be used as part of the Luxeon's heat sink.
To make a one inch round circuit card, use a 1 1/8 inch hole saw:
First, get two pieces of scrap wood about 3/4 to 1 inch thick. Place the boards on top each other and saw out a hole completely through the first board. Now loosen the set screw on the hole saw collet and back the center drill into the housing about 1/2 inch, and tighten the set screw. Place a piece of circuit card between the two boards. Now use the board with the hole in it as a guide to keep the hole saw from sliding around and carefully drill out a plug from the circuit card. Pop the disk out of the hole saw, and presto - you've got a round circuit card. The edges will probably be a little rough and require a little filing and sanding to get smooth.
Through the hole mounting of the Luxeon:
|
|
Backside: Flip the board over and drill two very tiny holes (just big enough for a resistor lead to fit in) 1/10" apart, centered between the two existing holes (do not drill all the way through to the other side). These holes are where the wires will be connected that plug into where the incandescent bulb legs went. Now carefully scribe a line all the way down the board between the two small holes; basically separating the board in half (positive side and negative side). Be sure the two sides are electrically separated by digging out a thin line of copper with an exacto knife or similar tool.
You may want to polish the front side with some 1200 fine emery cloth and little water. Lay the emery cloth on a flat table top, put a few drop of water on it and shine that copper up. The smoother the surface, the better it conducts heat.
Carefully (very carefully) bend the leads of the Luxeon to point straight down; do not apply any pressure or bend the leads where they go into the case. Carefully grasp them with fine needle nose pliers and make the bend right where the lead makes its first natural bend to the back. Bend the leads towards the back, away from the lens. Do this for both leads.
Get a piece of tape 2" in length and cut it to 1/2" width; cut a 1/2" square piece of paper and stick it in the middle of the tape (to protect the lens). This will be used to hold the Luxeon on the board when we turn it over to do the soldering.
Test mount the Luxeon and make any small adjustments needed to the legs for a good fit through the holes. Remove the Luxeon, and coat it's metal stud with heatsink compound. I used Arctic Silver, because it's what I had, and it's the best, but the white stuff will probably work ok. Mount the Luxeon on the board, tape it in place and solder the leads. Heat and apply solder around the lead holes then bring the solder and iron tip to the lead and it should solder right up. Do not heat for more that five or six seconds (35W iron). Take a few minutes break and then solder the other lead. Now get to nice and stiff wires (I used resistor leads) and solder them into the two small holes that were not drilled through; try to keep the straight out the back when soldering.
Now, trim the leads to about 1" and inset it into the lamp contacts on the switch assembly; if it doesn't light up press the switch. If it still won't light up, then reverse the legs plugged into the lamp contacts. Bright, isn't it?
Test fit the reflector assembly, and make any adjustments necessary to center the Luxeon. Becareful that the edge of the hole in the reflector does not rest on the leads of the Luxeon! Trim any black plastic from the reflector hole as required.
Drop the heatsink washer onto the Luxeon circuit card, and test fit the reflector assembly. It should screw down tight without touching the legs of the Luxeon. If not, check for conflicts with the washer and reflector; trim/enlarge hole as necessary. Once everything is centered and working, turn off and remove the reflector and washer. Apply a liberal coat of heatsink compound to the side of the washer you filed flat and reinstall with heat sink compound side down, and then install the reflector. Tighten all way down slowly (again. make sure the reflector is not hitting the Luxeons leads!)
Note: It's probably not a good idea to play with the focus adjustment, as the reflector is what keeps the washer in position when screwed down.
You're done........now wasn't that easy?
|
|
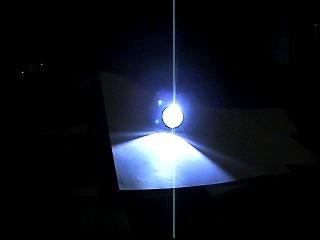
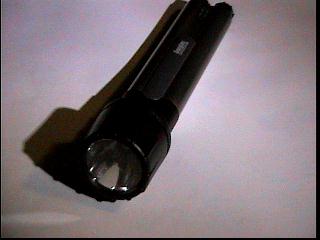
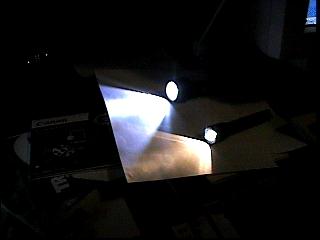
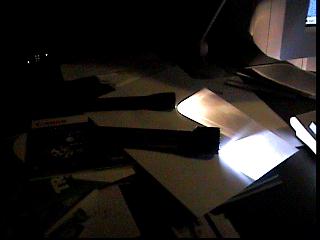
Comparing the Luxeon Light to a brand new Minimag with fresh batteries:

|
|

|
|